The Best Embellished DIY Tree Skirt Tutorial for Your Whimsical Winter Decor
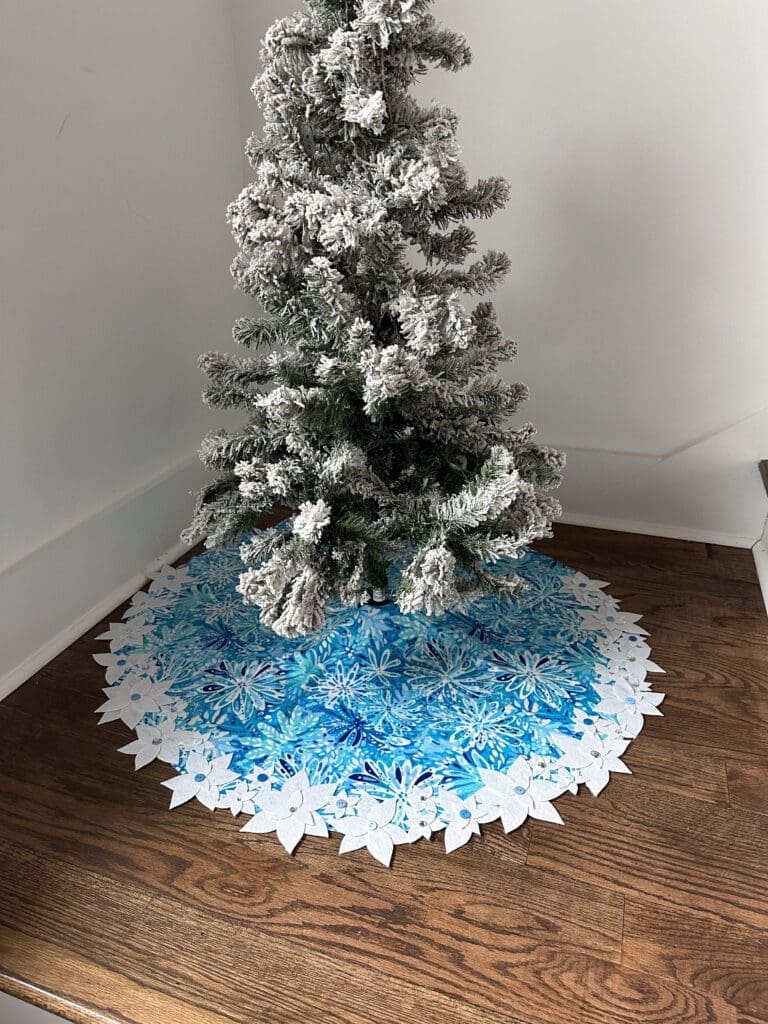
Imagine a winter wonderland right in your living room! This DIY tree skirt brings the magic of a blue Christmas to life with our cozy and luxurious Minky fabric encircled by a frosty garden of white, glittering flowers. Join us as we craft this quick and charming centerpiece that will make your holiday celebrations all the merrier!
So Nice We Did It Twice!
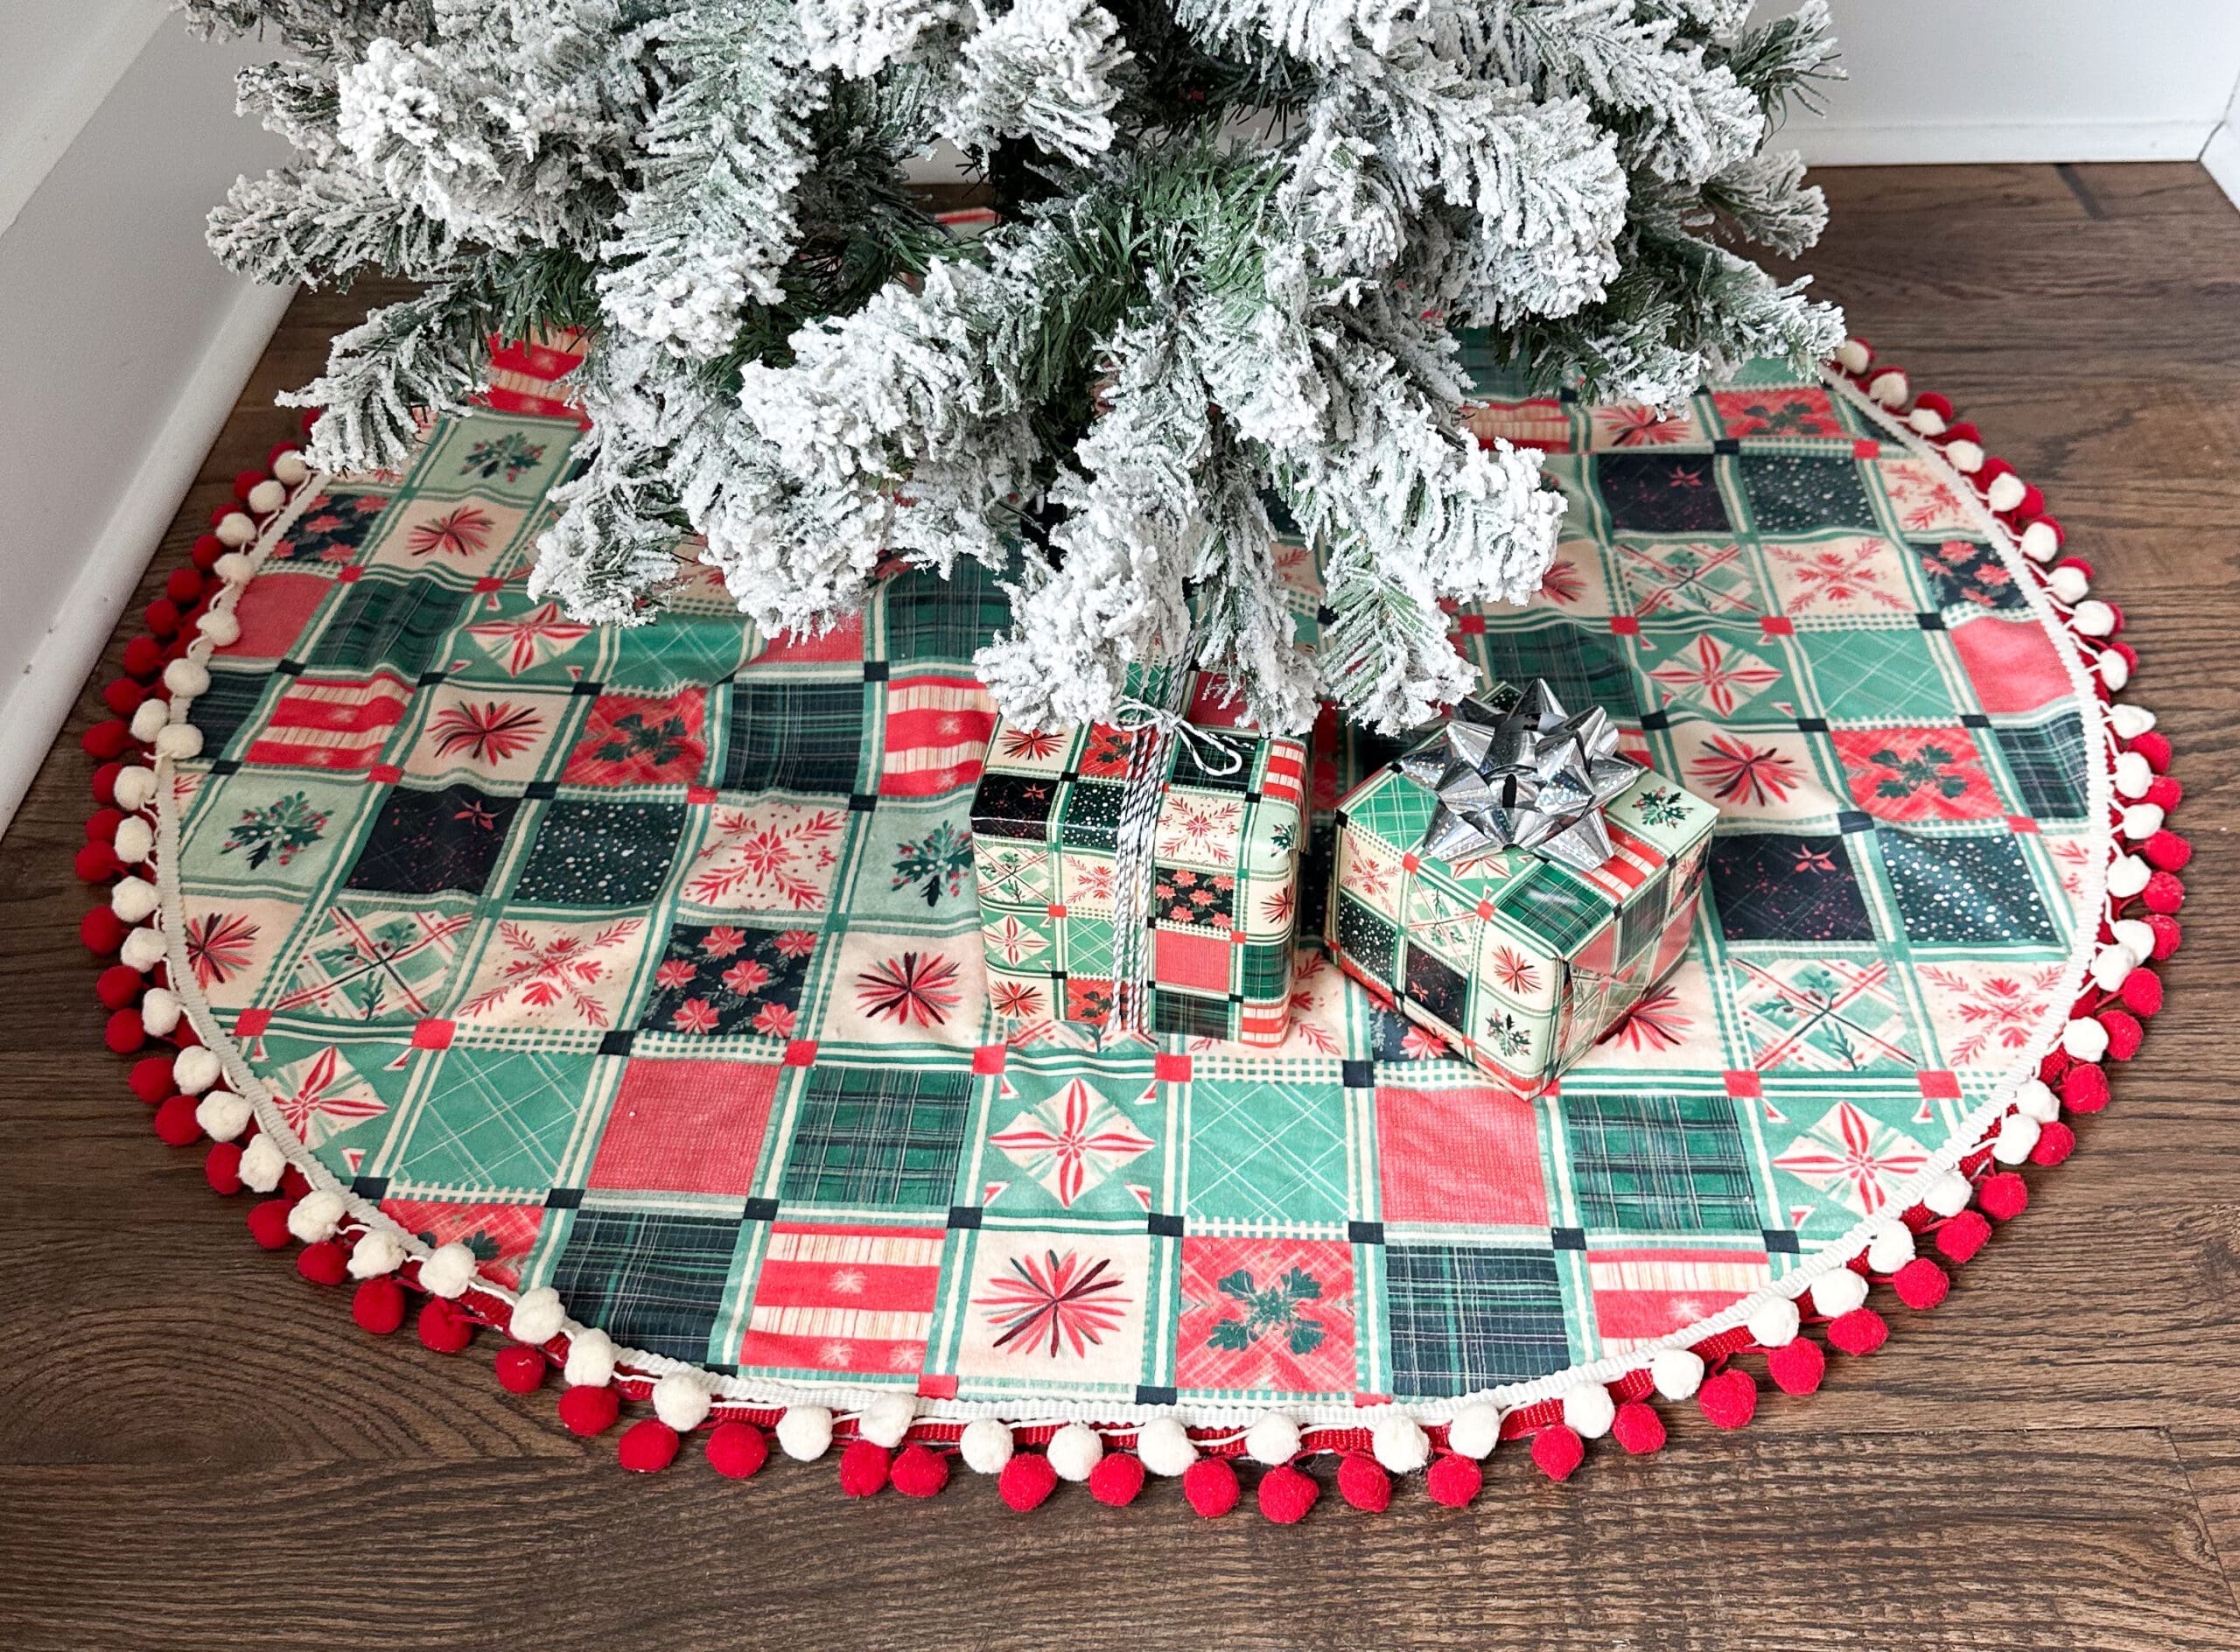
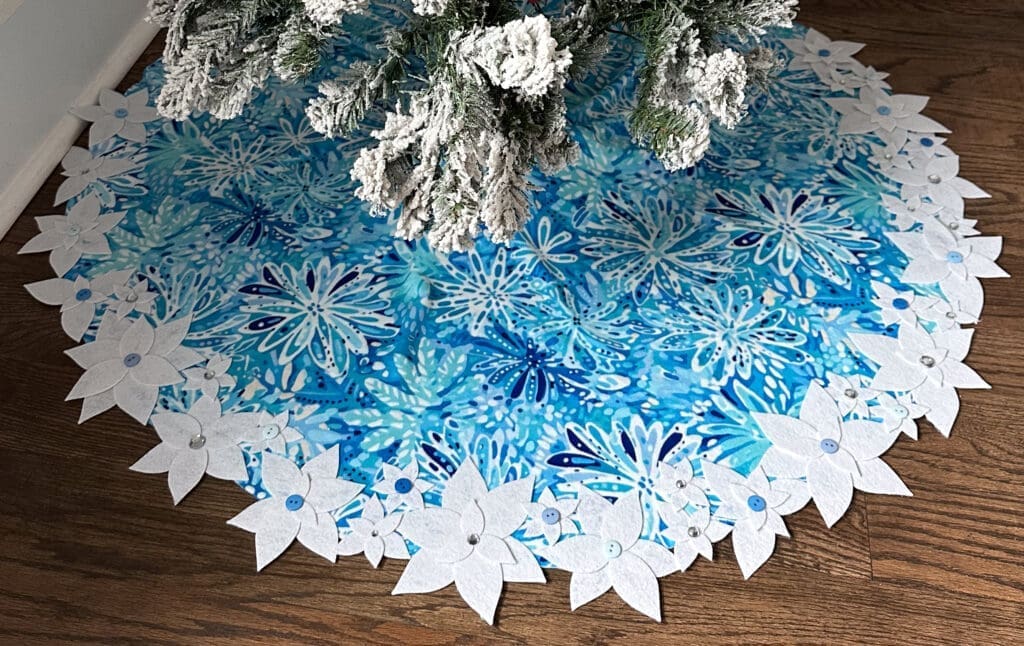
You loved our first Minky tree skirt tutorial so much that we had to make a second one! While our first DIY Tree Skirt was made with our Vintage Christmas Quilt Minky fabric, this one is made using our popular Winter Wonderland design. We’ve made both fabric prints available (for a limited time) to purchase in 1- or 2-yard Minky cuts so you can enjoy this DIY. (Shop the fabric here.)
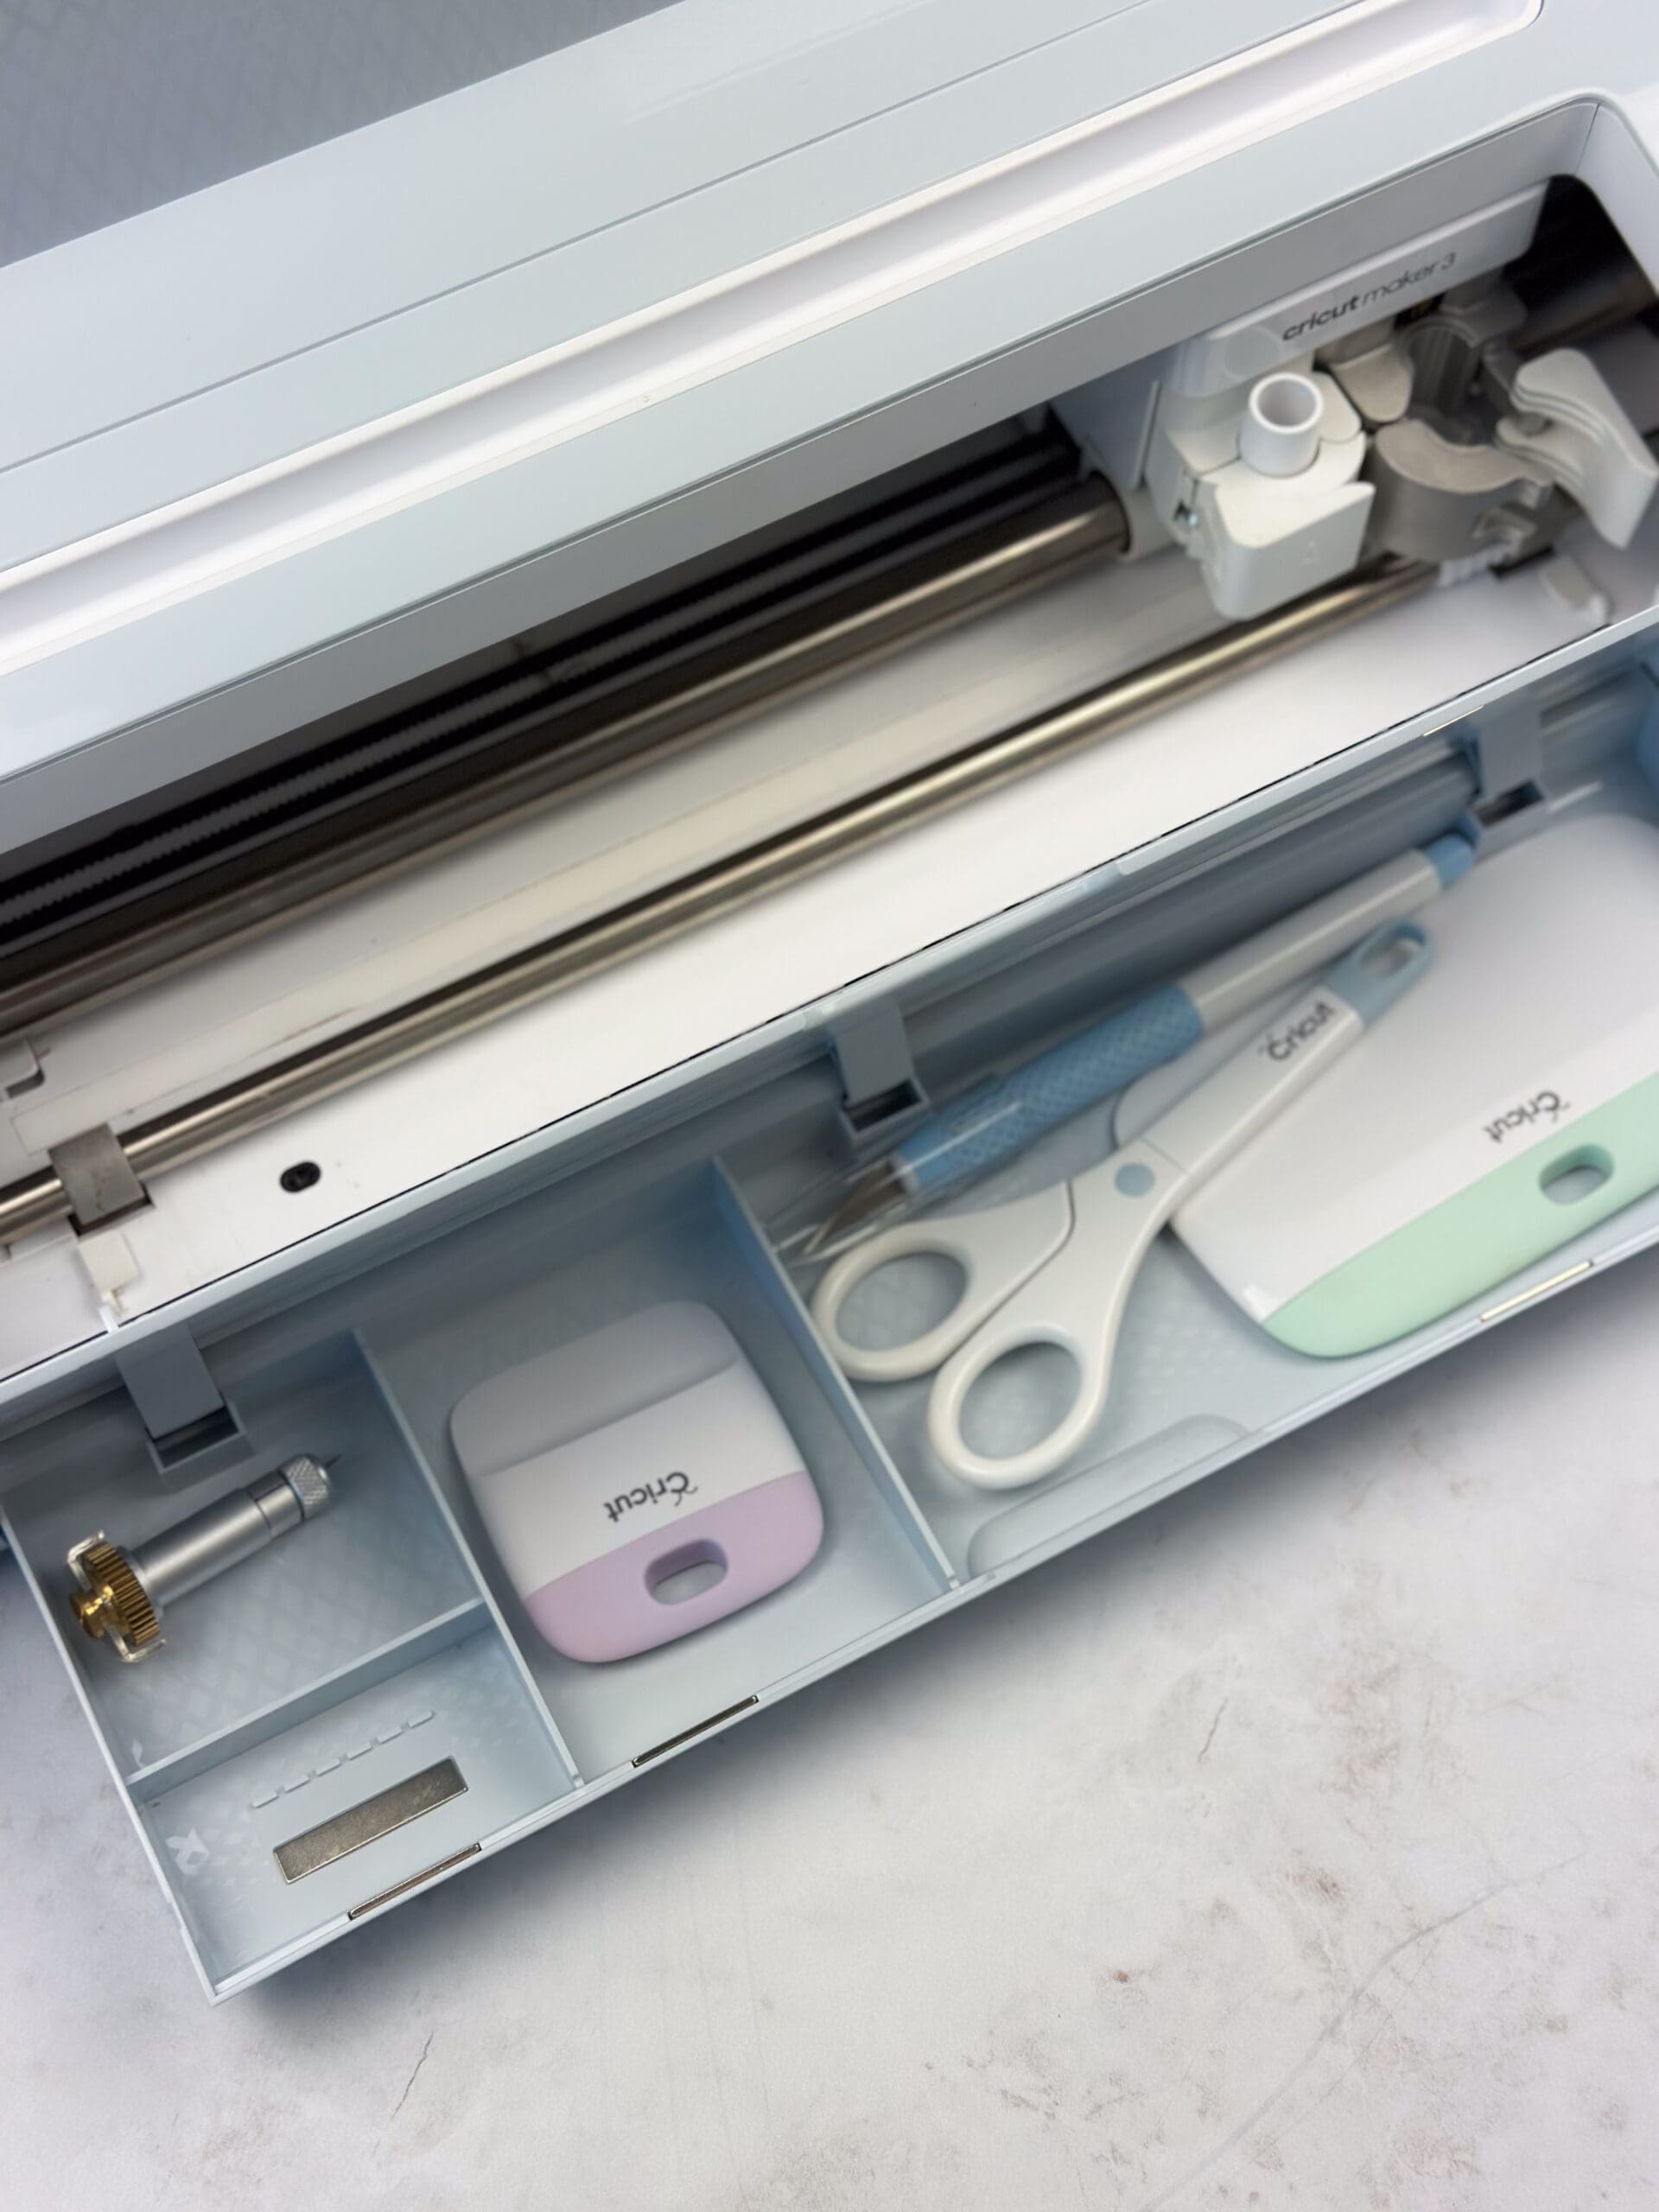
For our Winter Wonderland version we are embellishing the edge with glitter felt holiday flowers using our Cricut Maker and a glue gun. This method of embellishing has a few more steps than the pom-poms we used previously, but we just know you will love the end-result!
First thing’s first, gather your supplies:
Supplies
– Minky Fabric / DIY Tree Skirt (see step 1)
Step1: Follow Our Tree Skirt Tutorial
First you need to make your Minky tree skirt! (Or whatever fabric you choose!)
Check out this post for step-by-step instructions on how to quickly measure and cut a simple DIY no-sew tree skirt.
Step 2: Create Your Trim Design
After your supplies are gathered and your tree skirt is done, it’s time to get into Cricut Design Space and get your canvas ready to create the shapes you’ll be adding to the edge.
We knew we wanted to embellish our edge with something whimsical that coordinated with our swirling blue and white Winter Wonderland print. We opted for multi-layered flowers in a coordinating white glittery felt with blue buttons as the center. (Don’t worry — it’s easier than it sounds!)
You can choose any flowers or shapes that you want for this project. If you want to make yours exactly like ours, click here!
Step 3: Cut Out Your Shapes
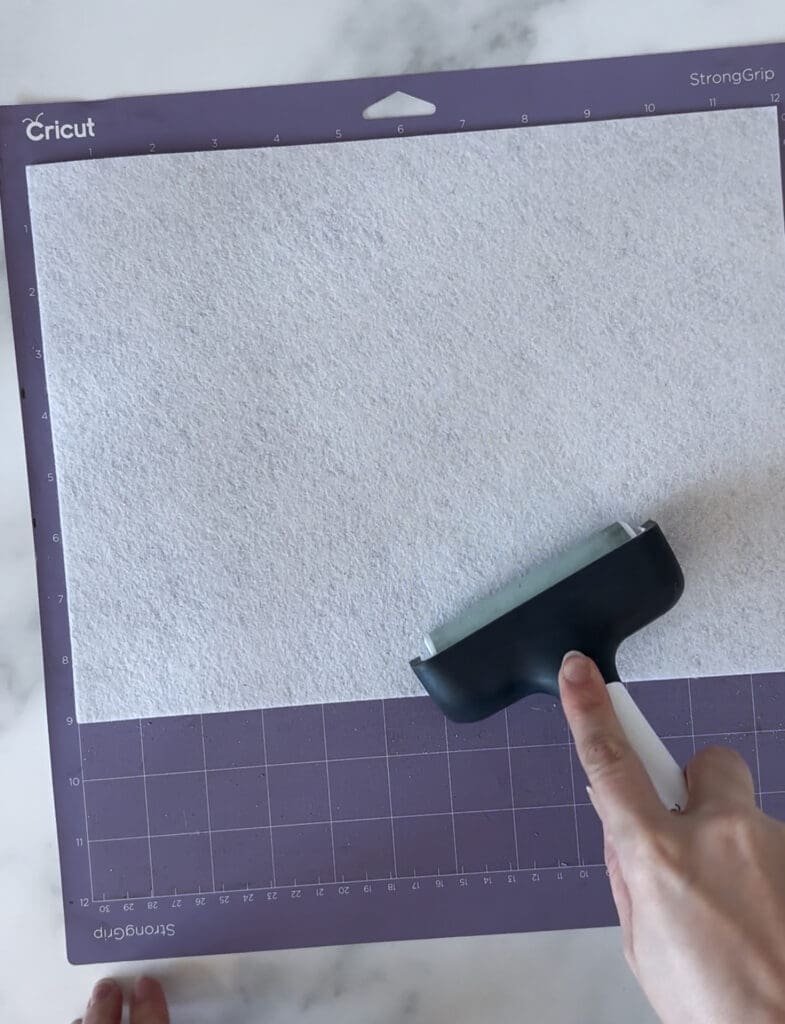
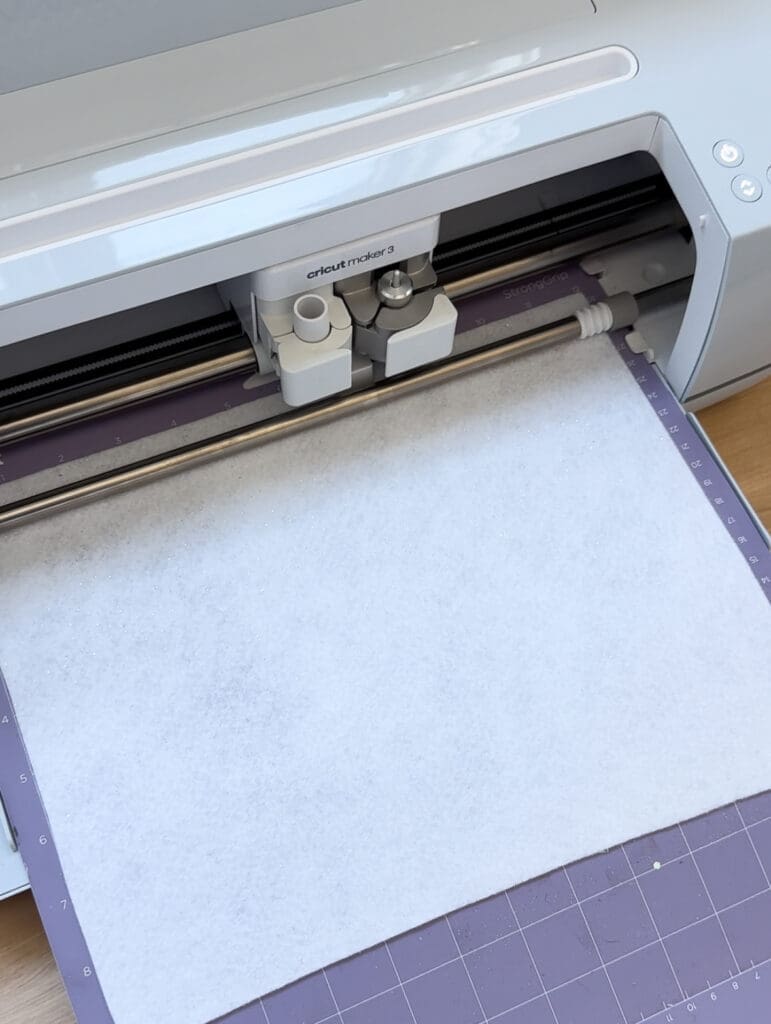
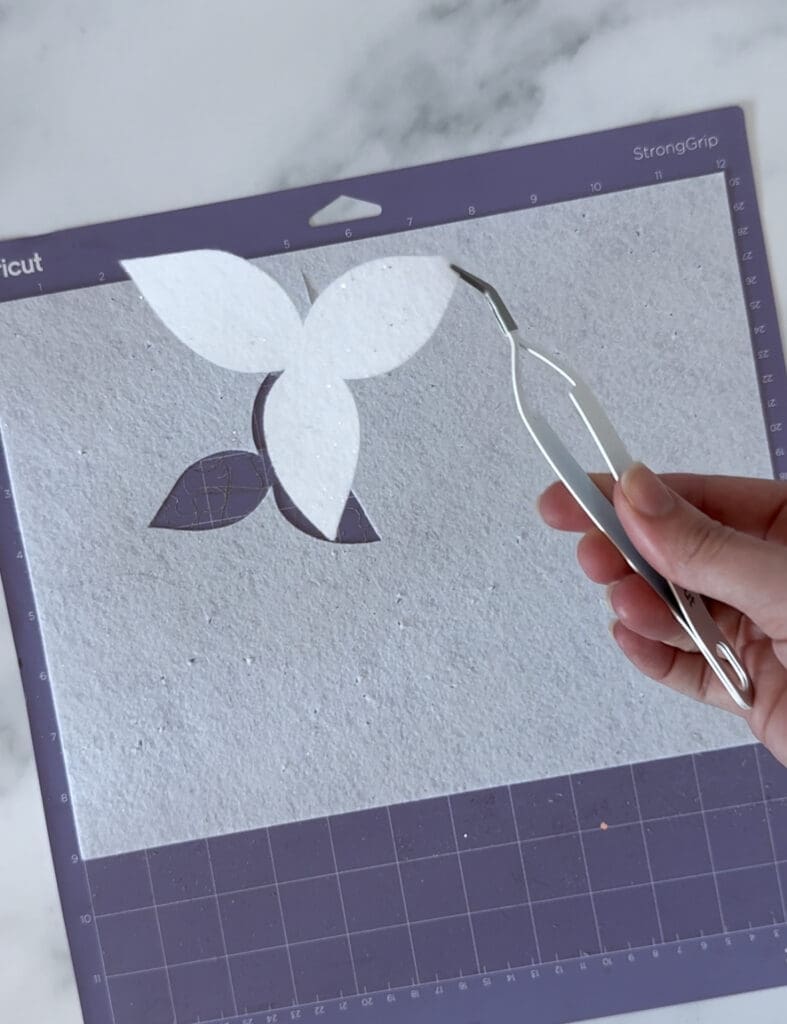
Get ready to cut! Use your Cricut Brayer and Strong Grip mat and line up your felt. Move all the star wheels on your machine to the far right, load your materials, and let the machine do the rest.
Step 4: Group Your Cut-Outs by Size
Pop out all the cut out shapes and sort into groups by size.
The number of flowers you need to cut depends on two things: the size of your tree skirt and how many layers you want to add to your flowers. We decided to make all our flowers two layers in varying sizes.
We recommend starting by cutting one or two sheets of felt, then cutting more sheets as you go along so you can more accurately predict how many you’ll use.
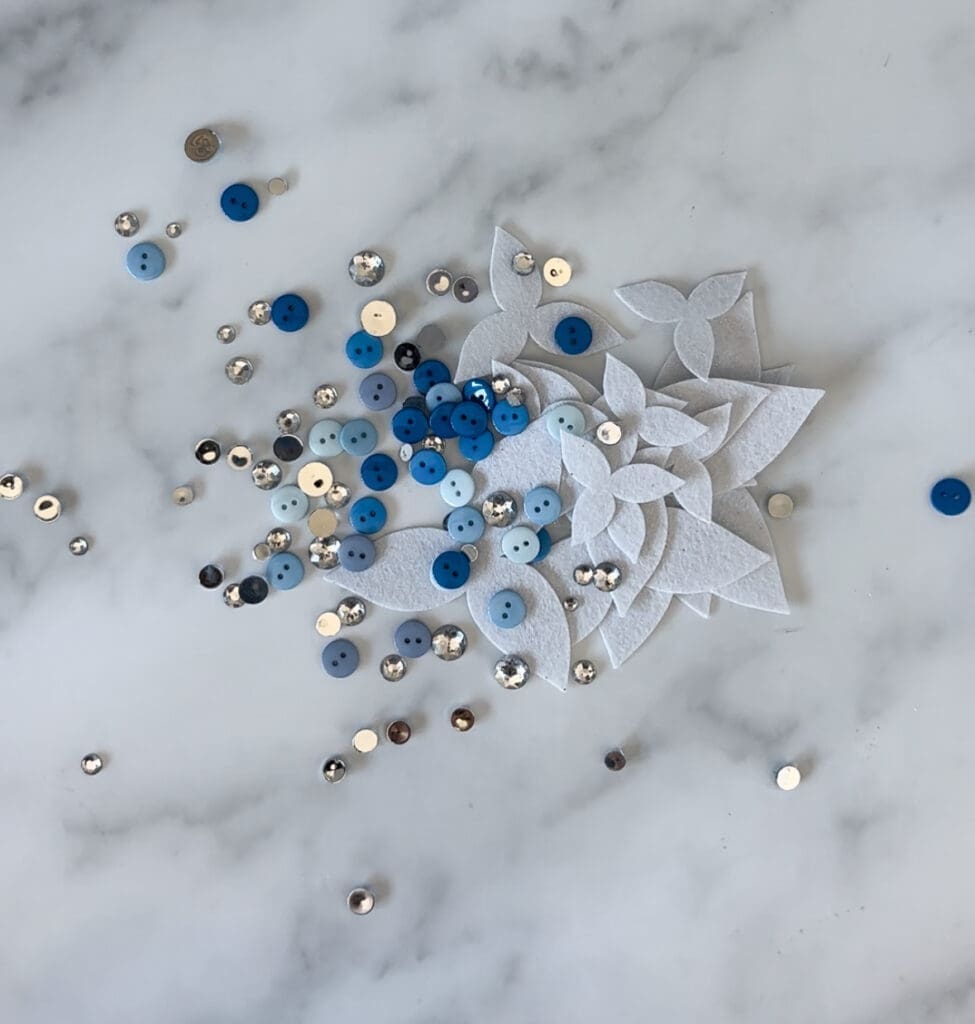
While you’re sorting, plug in your hot glue gun and get your center embellishments ready!
Step 5: Glue, Glue, Glue!
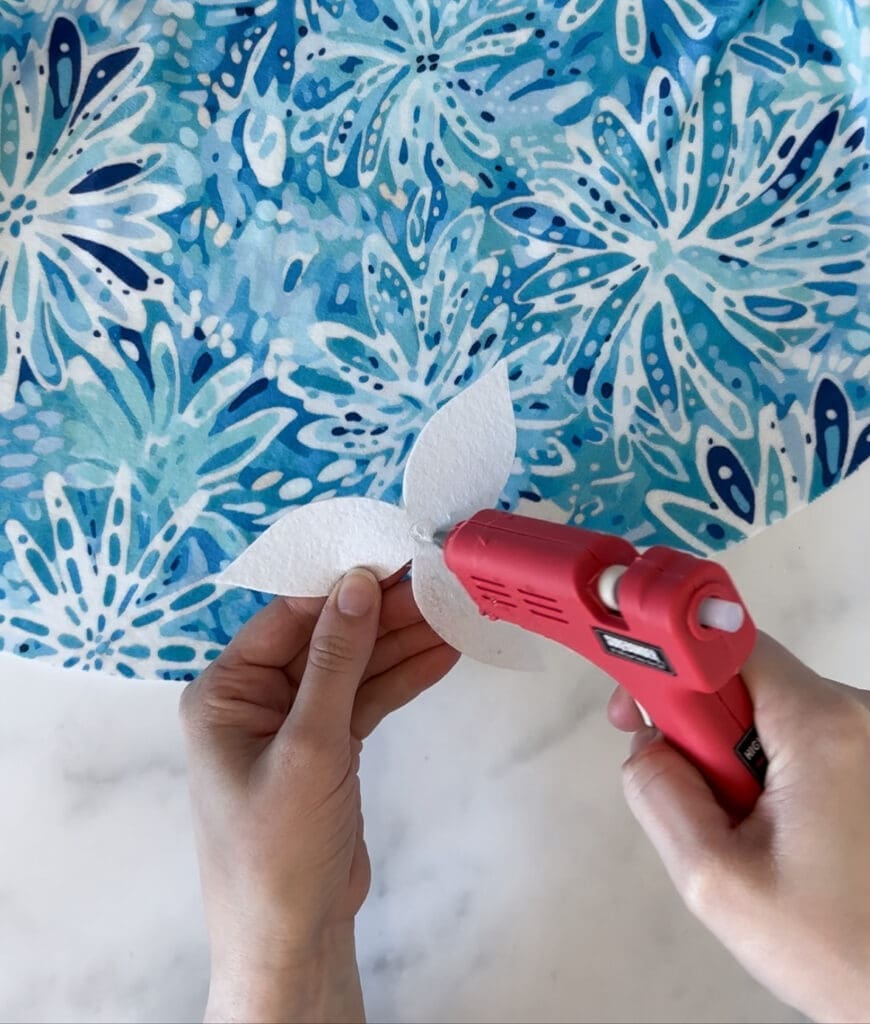
Get glueing! Now you can play around with where you want to place your petals and glue them in place. Use a mix of layers and be creative with your spacing to add depth and visual interest to your project.
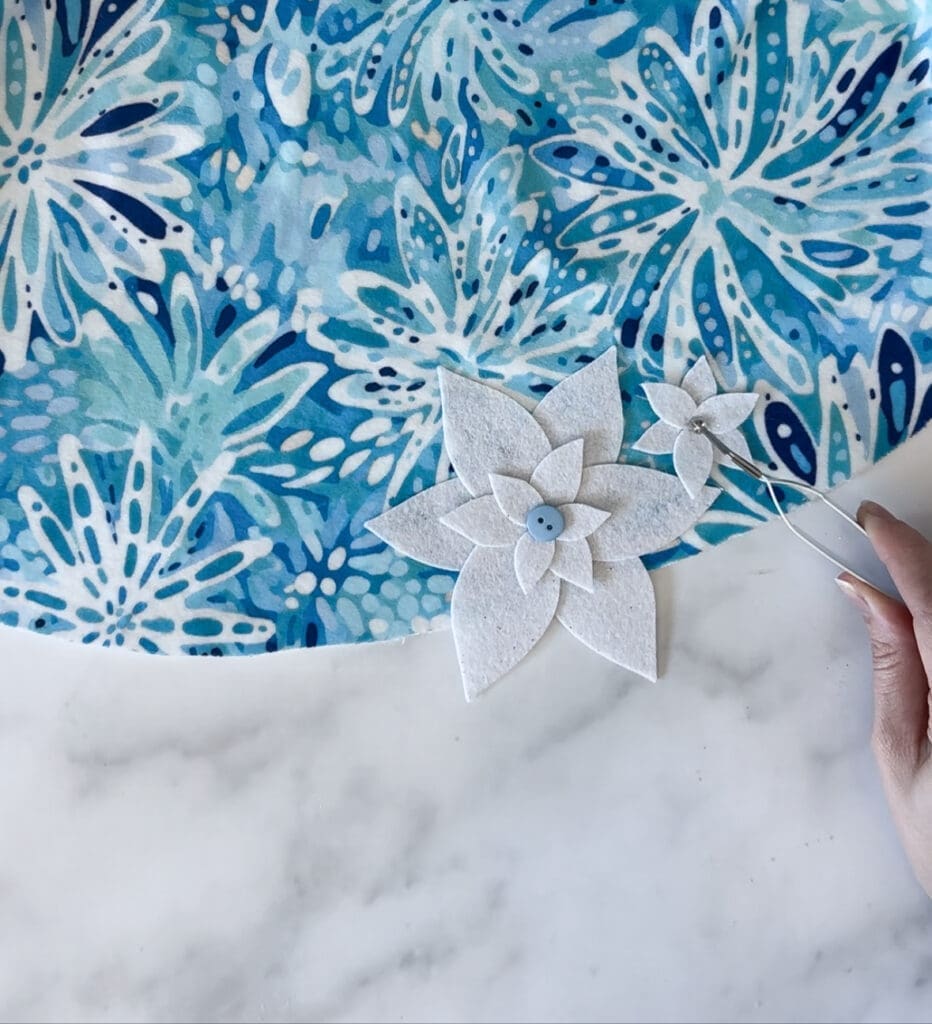
Make sure you like the flower placement before glueing it to your DIY tree skirt! (It’s especially hard to remove from Minky.) Complete each flower by adding a center embellishment.
Continue along the edge of your tree skirt until you’ve made it all the way around.
Pro tip: Use tweezers to help you place the small center embellishments without getting burned.
Enjoy Your Beautiful DIY Tree Skirt!
We’re kind-of obsessed with how this Winter Wonderland DIY Tree Skirt turned out! We’re thinking about adding coordinating glitter felt flowers to our other decor — stockings, wreaths, and garlands are at the top of this creative to-do list.
We can’t wait to see your Minky tree skirts! Is there a style or color you’d like to see next? Let us know in the comments!
